Please feel free to consult our frequently asked questions (FAQ) written by shade sail professionals. If you have any questions that are not listed, do not hesitate to contact us by telephone at +33 03 62 27 60 60, or by e-mail at contact@espace-ombrage.com. We will of course be happy to answer you. How do I install a shade sail? How does my shade sail work? A whole range of questions which you can find the answers to here.
The Australe 220 is available in 13 formats: 6 triangles and 7 quadrilaterals. Plan a smaller sail than your deck to be able to integrate tension distances at each corner (see table summarizing the minimum dimensions of the deck for each sail format).
The density of a shade sail or its weight is mentioned in square meter. The Australe 340 weighs 340g per sqm, while the Australe 220 sail has a density of 220g/sqm. The UV filtration is superior with the sail Australe 340.
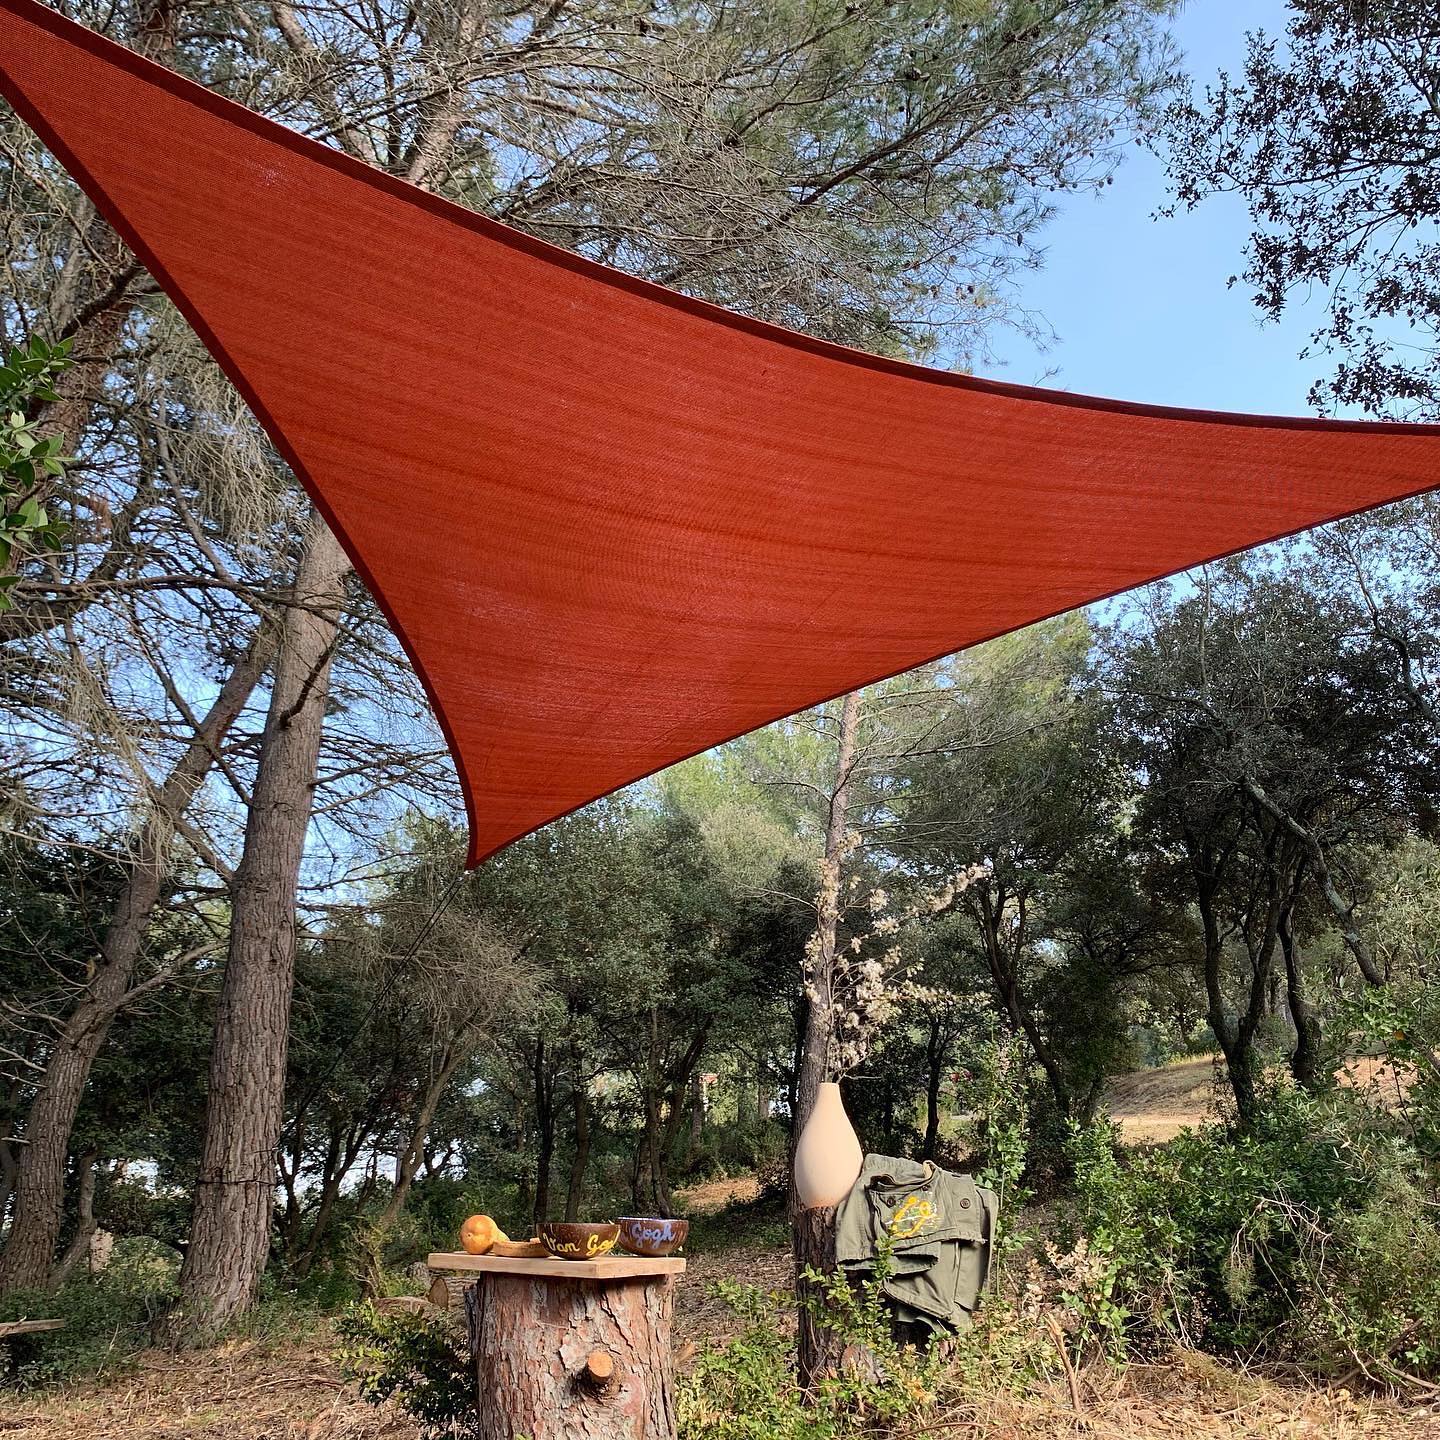
In order to know how to choose a shade sail, notice that the colors of sails have an influence on the rendering. The lighter the sail, the brighter the rendering in your house and the more you will need sunglasses under the sail. The darker the sail, the fresher you will feel under the sail.
It depends on your needs. Choose a micro-perforated shade sail if you want to be protected from the sun only. These fabrics are more wind resistant. If you want to protect yourself from the rain, select waterproof sails made of polyester or acrylic 300. In this case, provide a slope to evacuate rainwater.
We produce custom sails up to 28sqm. The sides of the sails are 750cm maximum.
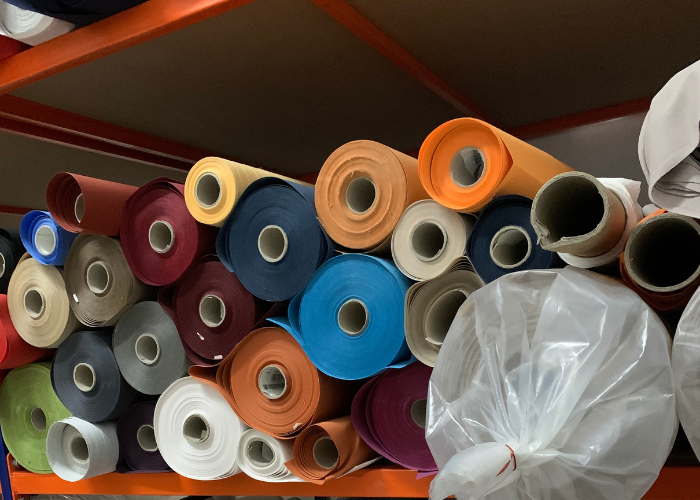
The Acryl is available in 25 colours to fit into your world. Surprisingly, the darker the colour of the fabric, the fresher you will feel under the sail.
In order to optimize the shading on your terrace, we recommend positioning your poles outside the terrace. Attach your sail at approximately 200 to 300cm-high. Do not go higher as the shade will be displaced from your deck.
If your structure is horizontal, choose an aerated fabric, the Australe 340, to avoid the creation of water pockets. If however, your structure allows for a 25% slope, then you have plenty of choices. In case of winds over 60km/h, remember to remove your waterproof cover.
Plan tensioning distances of at least 45cm at each corner of your shade sail in continuity with the medians. You can do this by placing your triangular shade sail flat on your deck, marking the medians with cords that will start in the middle of the opposite side, pass through the corner of the sail and continue to determine the point of attachment of your sail. Repeat for each corner.
A micro-perforated shade sail can be positioned flat or with height differences according to your preferences. Openwork sails allow air and water to pass through. They must be well stretched to last over time.
We recommend that you lay your sail on the ground with the seams facing downwards so that the sail's attachment points are well positioned in the tension axes. Installation tutorials are available on the Espace Ombrage YouTube channel.
A roller shade sail comes in two formats: quadrilateral and triangle. When it is rectangular, the roller is in the diagonal of the sail. When it is triangular, it rolls up on its longest side. When rolled up, these sails have good wind resistance.
You can attach 2 shades sails on the same pole. You will need an additional slider and to position the pole in the intersection of the two tension axes.
If you don't want to drill your walls, you can position poles. The poles can be screwed to the ground, embedded in the ground, fixed to the wall or screwed to the ballast support so as not to pierce a waterproof covering or a public place.
You can attach to walls (wall mounting, adjustable mast with wall plates). You can also choose a ballast support so as not to affect the waterproofing of the terrace.
It is recommended to create a slope of 25% when your sail is waterproof in order to create water drainage. The XL pole will allow you to accentuate the differences in the attachment points.
The XL pole is screwed to the ground with its plate. It is completed by a guy to be fixed at the back of the pole in order to reinforce it.
We recommend this wall mount only to fix the roller sail. In all other cases, we recommend tensioning systems with rope and pulleys that will allow you to attach/unattach your sails and to tension your sails without force.
The rigging screw has a tension range of 27-35cm depending on the setting. Its travel is only 8cm. It is not recommended as a binding for sails without a furler.
A shade sail must be tensioned at every corner. You will not be able to tension your sail with a simple carabiner. You should have tensioning systems at every corner of your sail.
The ideal fixing height for a shade sail is more than 220cm in order to be able to move around and to have a feeling of space under your sail. Remember to include a slope if your sail is waterproof to allow for water drainage.
The pergola sail will be fixed to your structure using the provided bungee cord. It will pass through the eyelets provided on the edges of the fabric and the structure. Provide hooks for pergola on your wooden structure if necessary. The shade sail will allow you to enjoy your terrace while reducing the heat.
You can choose between several types of base to fix your shade sail pole: to be embedded in the ground so that it can be removed in winter, to be screwed onto the terrace, or to be fixed with wall plates.
The pole is available in aluminium, anthracite and brown. It all depends on the atmosphere you want to create. You can match the colour of your window frames or choose to match the pole to the colour of your terrace. The brown pole is the most discreet colour and blends in with the natural elements like a tree trunk.
When you buy an adjustable pole, it includes the tensioning system, the cleat and the slider. The slider allows you to attach the sail to the pole's front or back rail. This allows you to vary the height of your sail throughout the day.
The M6 carabiner is supplied with the Australe 220 and Solar 200 sails and is suitable for use with standard long fasteners. The M8 carabiner is supplied with the Australe 340 and Acryl 300 sails and is suitable for reinforced long bindings. The M8 carabiner is not suitable for standard long fasteners.
You can determine the size of your pergola sail from the size of the existing frame. Remove 5 to 10cm lengthwise and widthwise so that your fabric can be attached to the frame using the black cord provided. The pergola fabric will have straight edges with eyelets every 20-30cm to create a zig zag between the sail and the frame. Provide pergola hooks on your wooden structure if necessary.
Custom-made pergola covers are available in square and rectangular formats. You can choose a micro-perforated fabric that will let air and water through. If you choose a waterproof pergola sail, it is mandatory to create a slope for water drainage.
A rectangular shade sail should be fixed with tension systems along the diagonals of the sail. Do not hesitate to lay your sail on the ground with the seams facing down and use cords to locate the diagonals and the points of attachment in their continuity.
The canopy is supplied with corners. A rope must be attached to each corner to put the sail in tension. You can use the ropes and pulleys to tension the sail but it is not mandatory. Please note that the 300x600cm canopy has 6 attachment points. The canvas doubles in weight when wet.
The natural coconut fiber fabric requires little maintenance. The fiber will patinate in time. It is a summer canvas that will need to be stored in a dry place for winter.